
Roy and Shane spent much of the day truing up the strongback, getting each and every frame (and the transom and stem) plumb, square, level, centered and true. When they would get it right I would come by and find fault for a while until we finally got her as ready as we could get her.


The whole reason for this being that we have at least three different concepts of what a "real" Briggs side-panel looks like. I want to come up with one that I believe in. So we have lofted up this boat off accurate lines we took off Briggs hull #33--one built in 1981 near the end of Briggs's run of 36. We figure Briggs had it down to a science by then. Or not. They are all a little different, some a lot different. Is there one true Briggs? Not really. Of course I went ahead and threw in a wee tweak of my own--adding a teeny 3/8" rocker to what is normally a perfectly flat center section of a Briggs. So this boat isn't really a Briggs either.
Anyhow, We laid out the various patterns for side-panels on our 20' sheet of 1/4" plywood and cut out a blank a bit bigger than any of them. This we clamped onto the strongback. After several painstaking days of building and truing the strongback, we marked 24 points on the side-panel blank: the chine and sheer points of all ten frames, the stem, and the transom. That took maybe a minute to mark. A minute--and now we are done with the strongback.

Taking the blank over to the table we battened out the points and cut two finished sides with the frame intersections marked. It is now a free-form boat build. The strong back is no longer necessary, because with properly marked side-panels, there is only one shape the boat can assume. And the strong back, no matter how meticulous we were, will have variations between the two sides. At this point our two identical side-panels are more trustworthy.
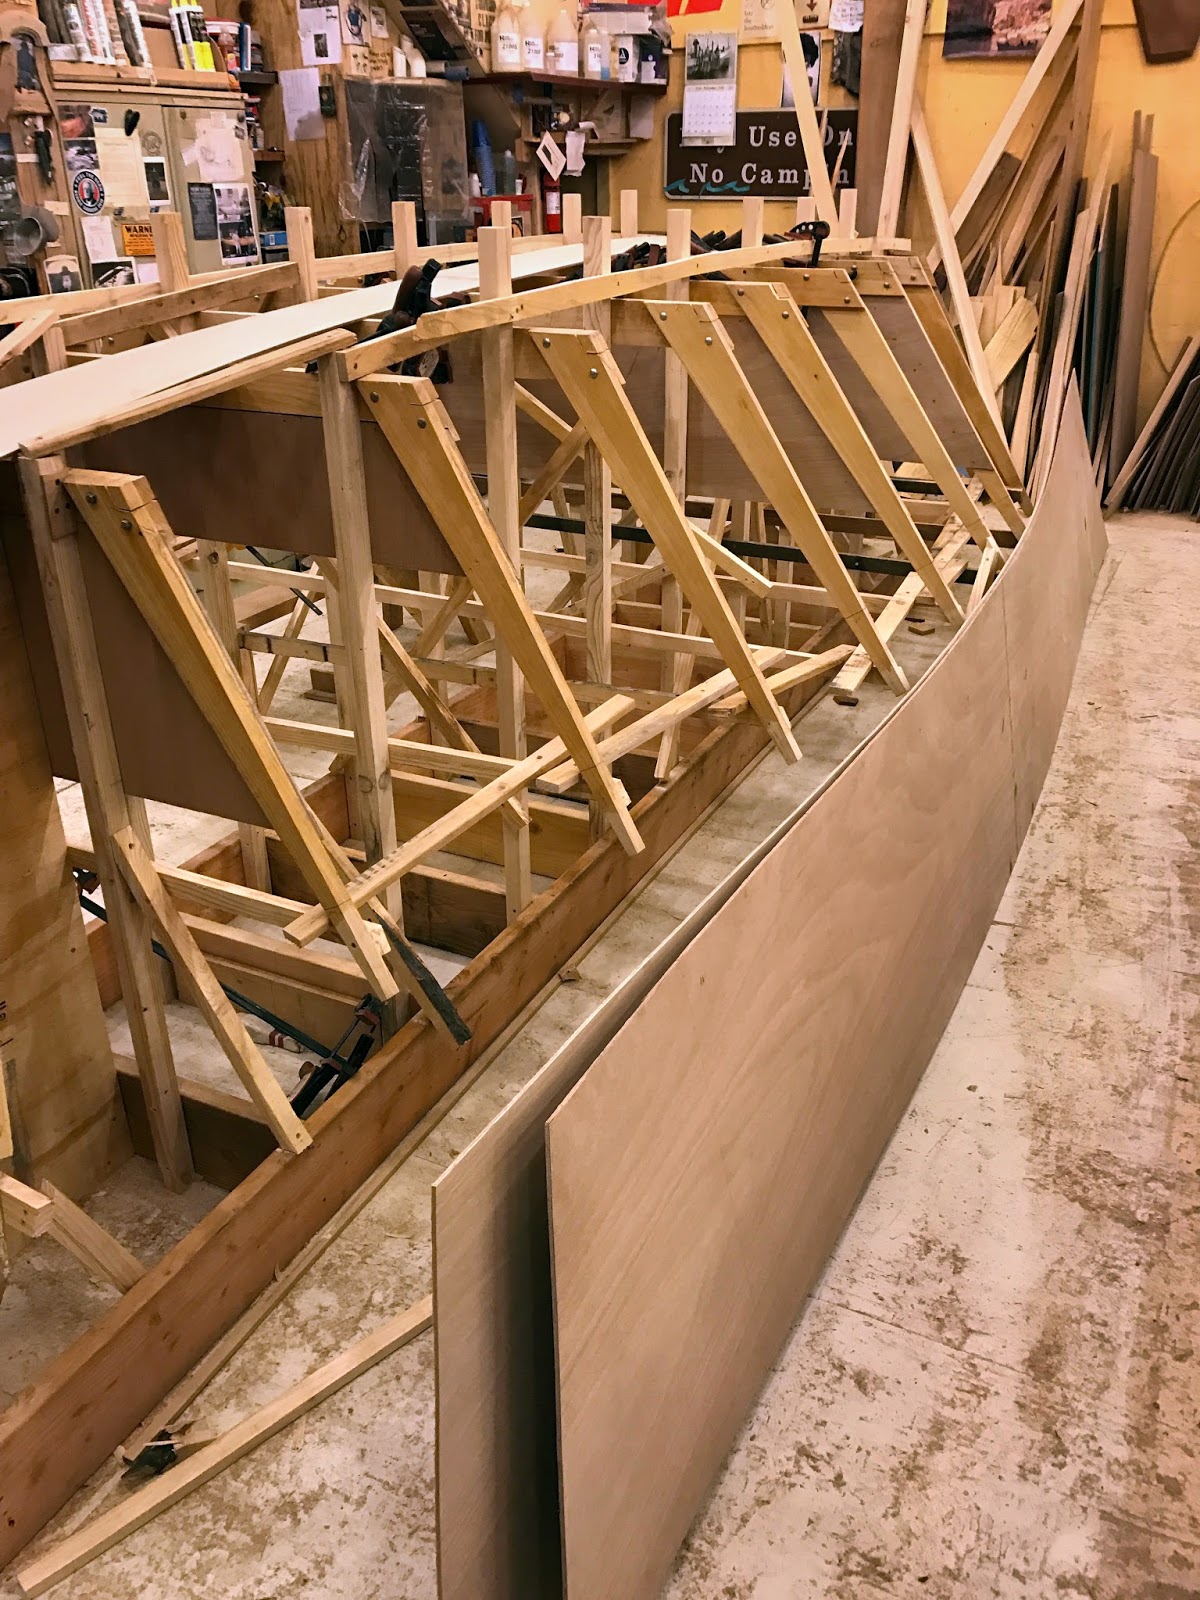
And on go the sides.
Meanwhile, the small figure in the back room is our friend Kate, a local boat gal who just graduated from Rhode Island School of Design in printmaking. She has a crazy plan--to build a McKenzie drift boat, but before assembling it, make each sixteen-foot side-panel into a giant woodcut and make prints from them. So the side-panels are 3/8" thick in order to give her an extra 1/8" to carve away and still have structurally sound 1/4" sides. In this shot she is building her frames off the lofting.


Gluing them up, cutting them out.


And roaring off to New Mexico with two sixteen-foot panels strapped to her car. She'll be back later to finish making other parts--meanwhile the wood-carving begins.

Where was I? Right. Building the perfect Briggs again. The sides are on. And it looks fabulous. They usually do. For this one we meticulously computed the angles of the transom, stem, and frames where they meet the side-panel. Turns out the angles at the top and bottom often vary by up to seven degrees, due to the fact that the chine curve and sheer curve are converging at different rates and angles. Standard practice is to split the difference--if it is 20 degrees at the sheer and 14 degrees at the chine, cut the rib at 17 degrees--which more-or-less works on the ribs but can cause a bulge or a pinch--or both--at the transom and stem. This time we actually cut twisting bevels--or "rolling bevels" as they are called--in not only the stem and transom, as we did for the last few boats, but every frame as well. Turns out it's a lot easier than we thought, and Janek was making short work of it. Did it matter? Kinda. The joints look truer, and the curves look sweeter. But I am biased.

It is hard to capture the essence of a rolling bevel in a photo, but you can sort of see it here, as the panel of plywood twists onto the stem.

Well, it looks just fine. So now we are steam-bending chines and gunwales, and clamping them to the hull to cool into the proper curves.

Once we have jammed the inner chine strips in, we mark the bottom, compute the screw placement, and spend a while cutting and drilling.

Bingo.

No comments:
Post a Comment
Note: Only a member of this blog may post a comment.